Skip to content
Join my newsletter list to be the first to hear our latest news!
Learn More
Home
About
All Recipes
Expand
Kid-Friendly Meals
Healthy Family Food
Desserts
Party Recipes
Lunchbox Ideas
Holiday Fun
Pinterest
Instagram
Facebook
Search
Toggle Menu
snacks
Kid-Friendly Meals
|
Lunchbox Ideas
|
Recipes
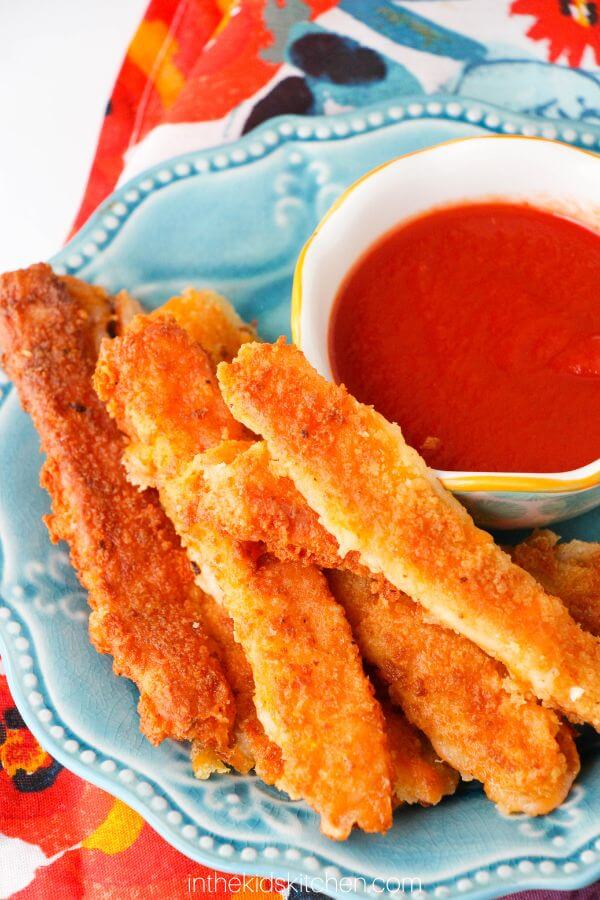
Homemade Mozarella Cheese Sticks
Baking with Kids
|
Lunchbox Ideas
|
Recipes
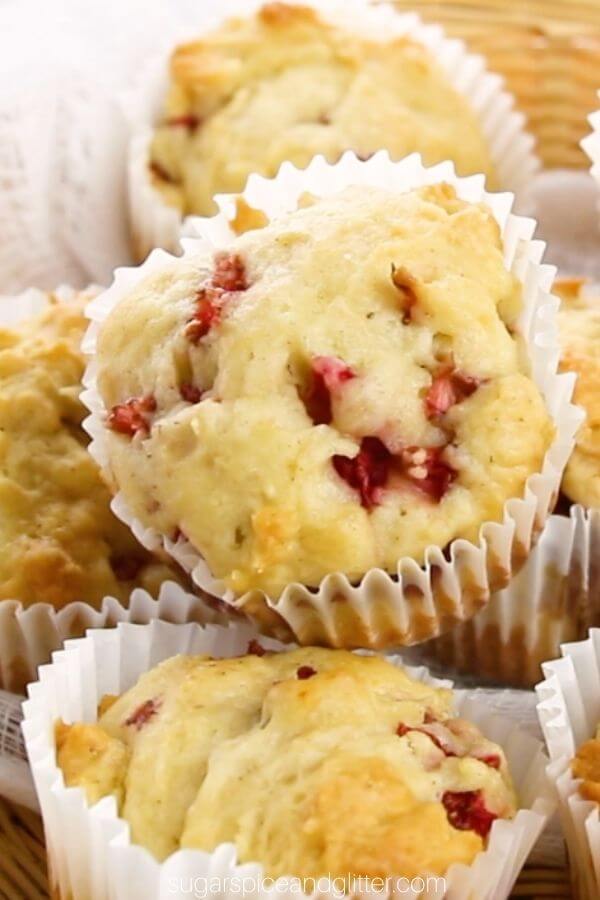
Lemon Strawberry Muffins
Party Recipes
|
Recipes
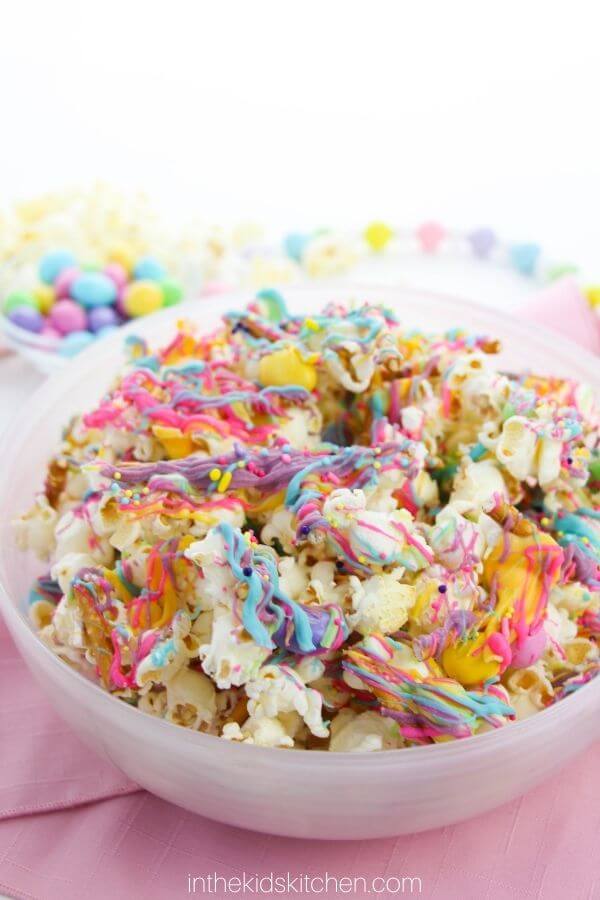
Unicorn Popcorn
Holiday Fun
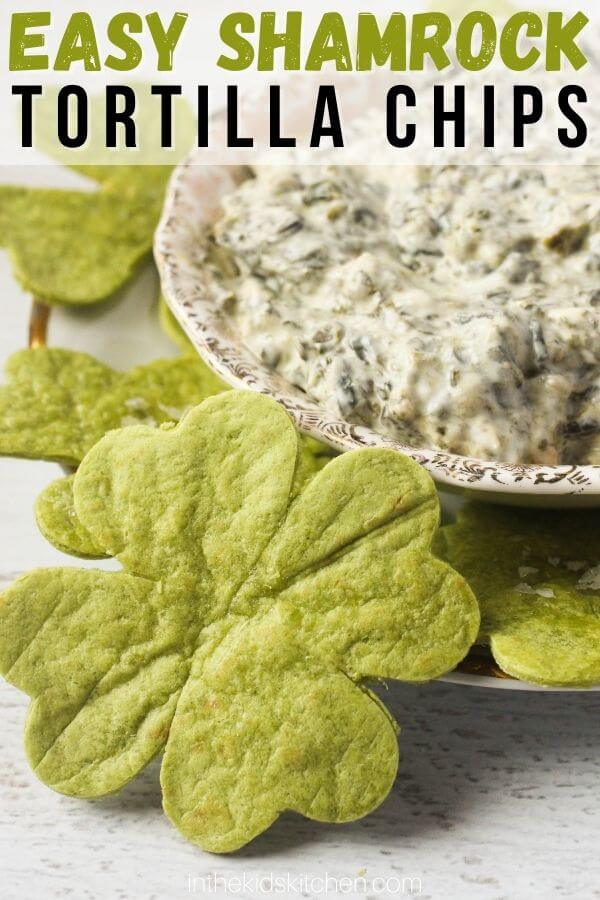
Shamrock Chips
Healthy Food
|
Recipes
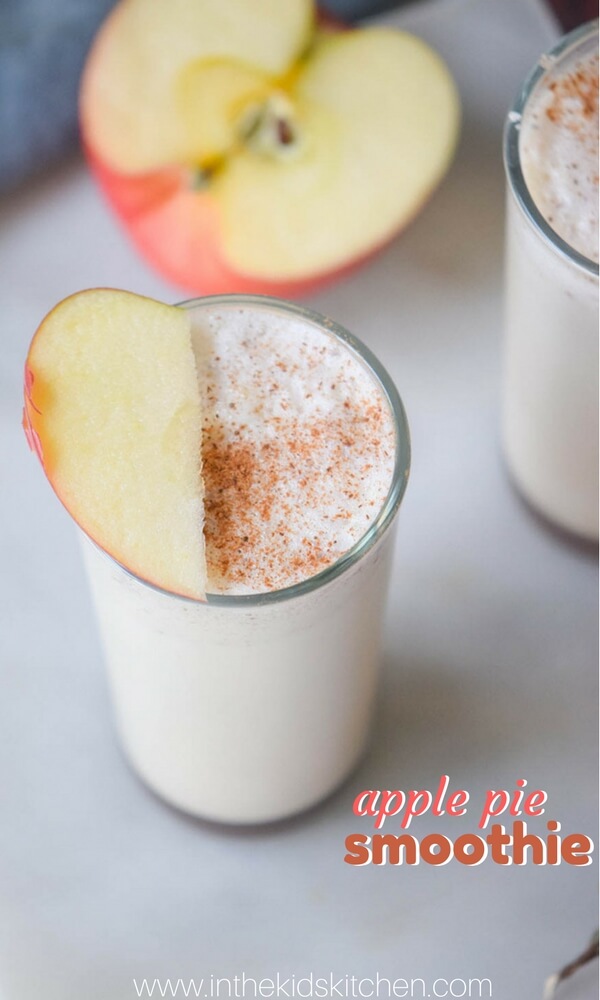
Apple Pie Smoothie
Lunchbox Ideas
|
Party Recipes
|
Recipes
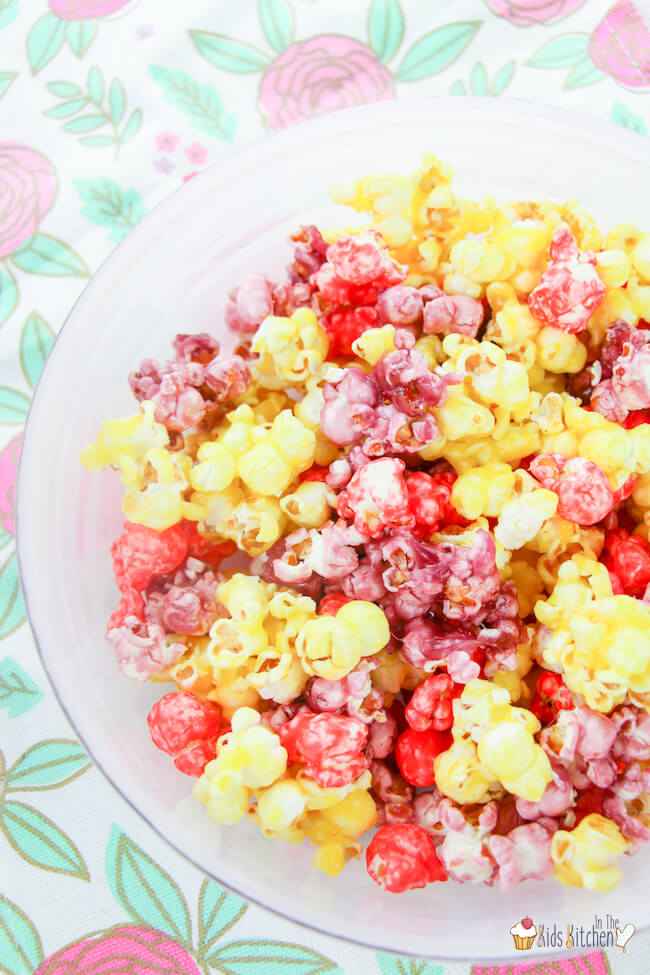
Candy Coated Jello Popcorn (with Video)
Healthy Food
|
Lunchbox Ideas
|
Recipes
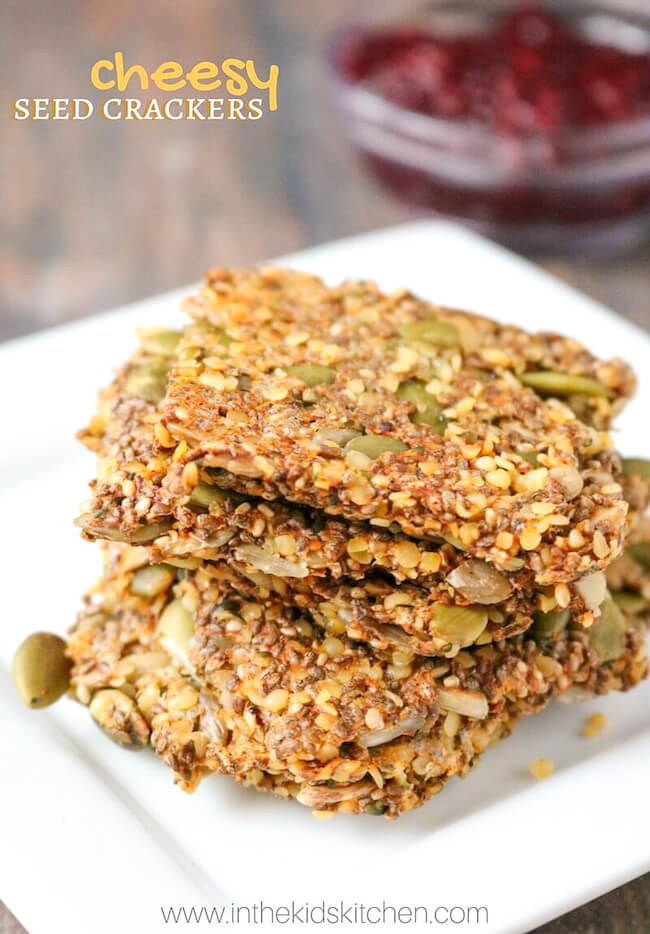
Healthy Seed Crackers – Superfood Snack!
Holiday Fun
|
Recipes
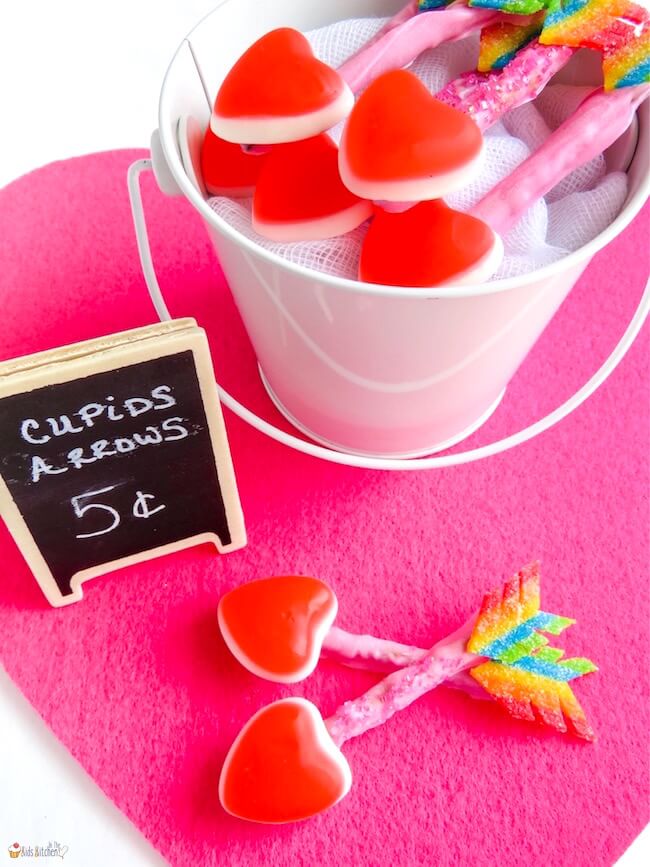
“Cupid’s Arrow” Chocolate Covered Pretzels
Holiday Fun
|
Party Recipes
|
Recipes
Turkey Cheese Ball Thanksgiving Appetizer
Party Recipes
|
Recipes
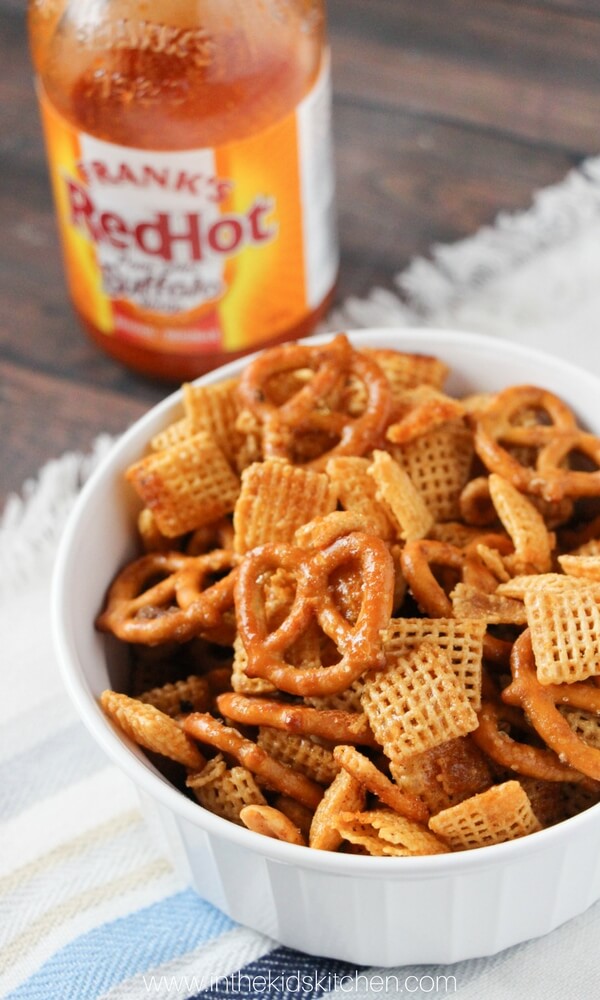
Sweet & Spicy Buffalo Chex Mix
Baking with Kids
|
Healthy Food
|
Recipes
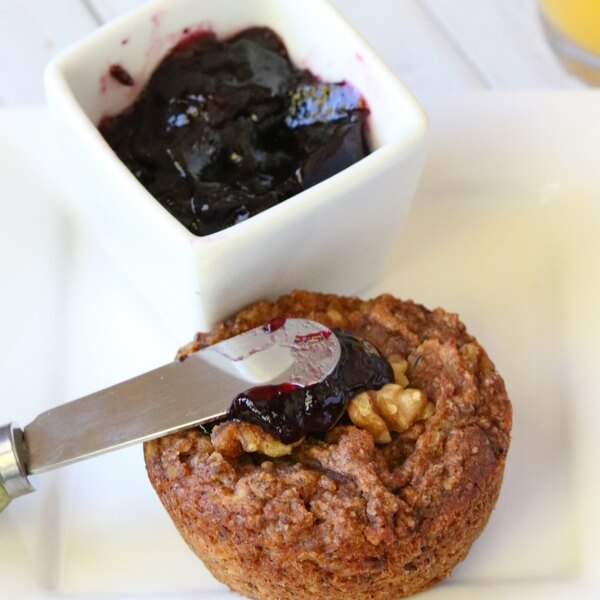
Healthy Oatmeal Muffins (Gluten Free)
Baking with Kids
|
Recipes
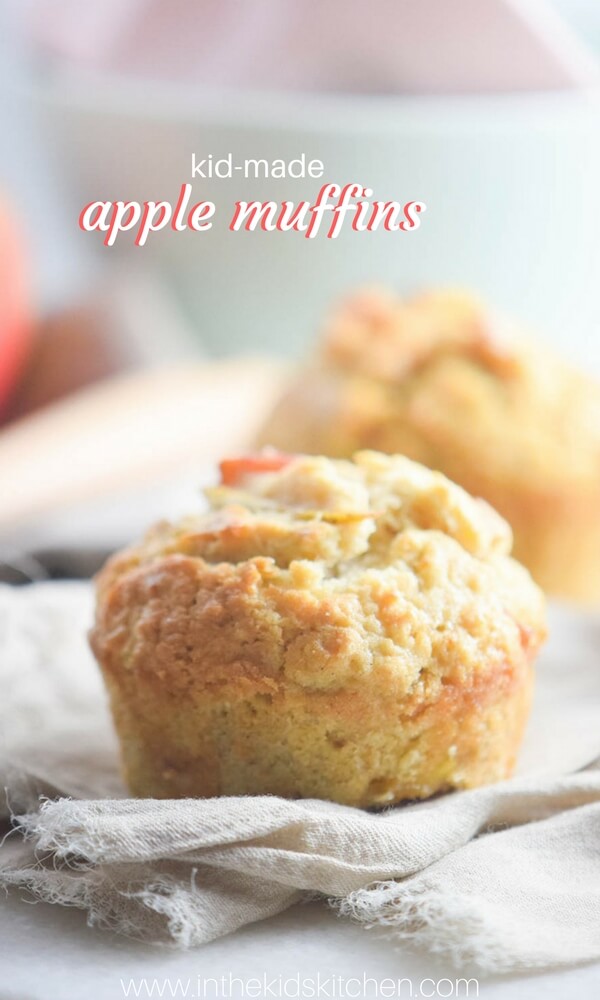
Easy Apple Muffins
Page navigation
1
2
3
Next Page
Next
Home
About
All Recipes
Baking with Kids
Holiday Fun
Toggle Menu Close
Search for:
Search