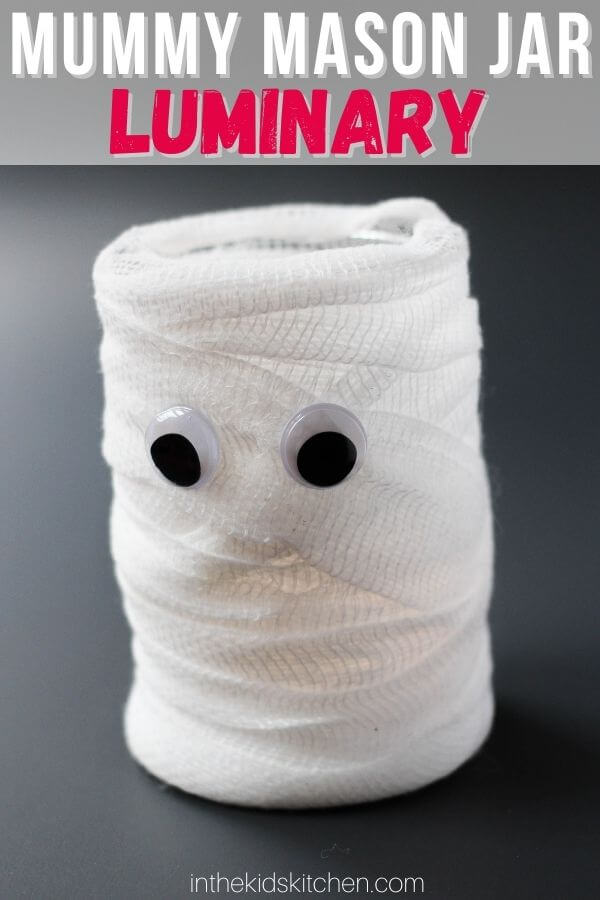
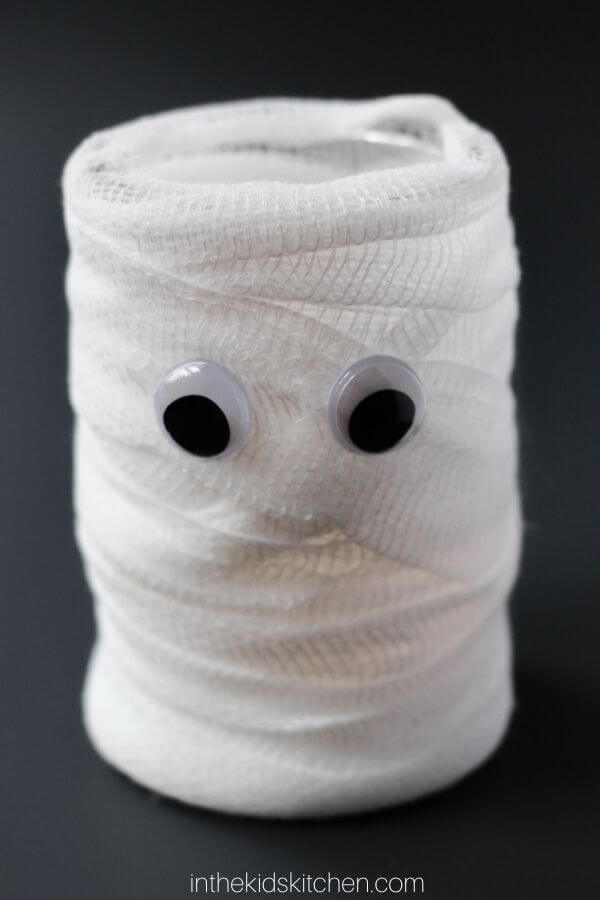
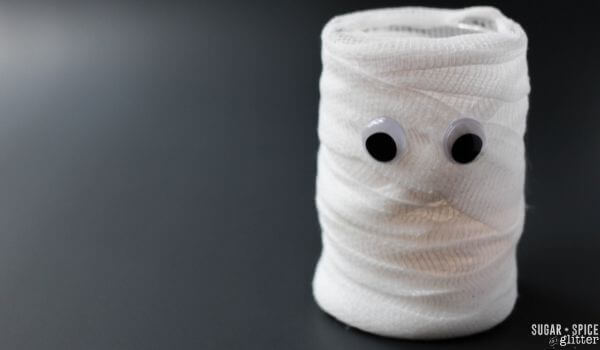
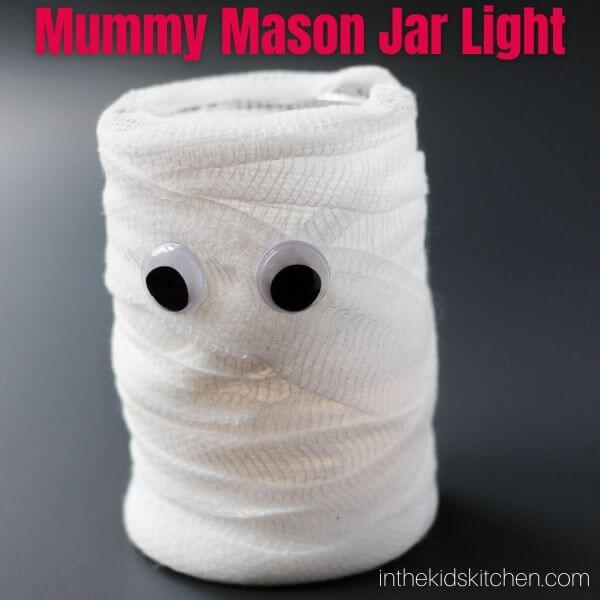
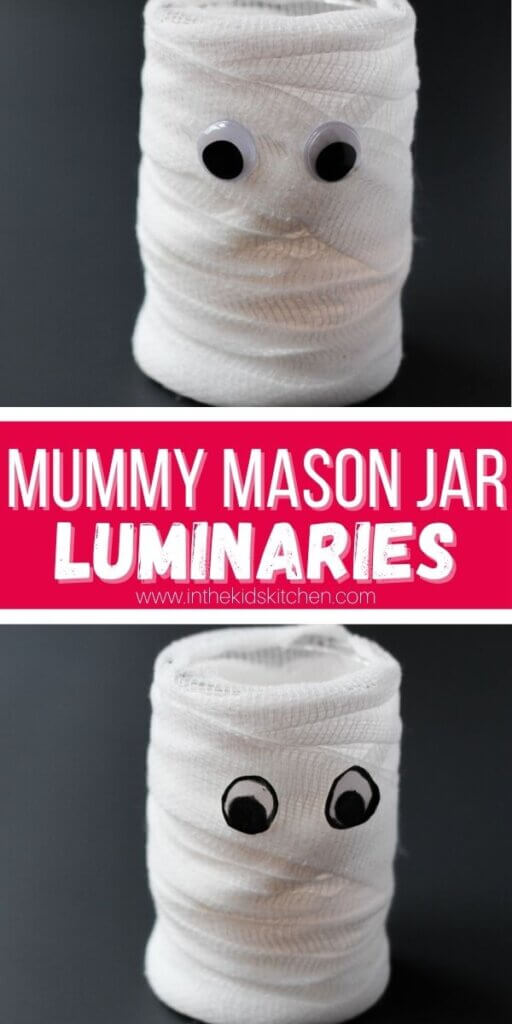
Mummy Mason Jar Craft

These spooky mummy mason jar luminaries are a festive kids Halloween craft for all ages. Made with white gauze and a few simple supplies, they’re sure to add a touch of Halloween flair to any room!
Mummy Mason Jars
These mason jar mummies are a cute and easy Halloween craft for kids of all ages! All you need are a few simple craft supplies, mason jars, and white gauze to create these fun little luminaries.
While we originally created these with the idea that they could be night lights or luminaries, there are so many ways that you can use them. If you use plastic cups, you can fill them with candy for a fun way to pass out Halloween treats at a Halloween party.
I love that this is a craft that is easy enough little kids to make themselves. And you can’t mess up! Mummies are supposed to be messy and a little creepy! So have fun and let your creativity run wild!
Supply List
- Small mason jars
- White gauze bandage
- Scissors
- Craft glue
- Battery-powered tea lights
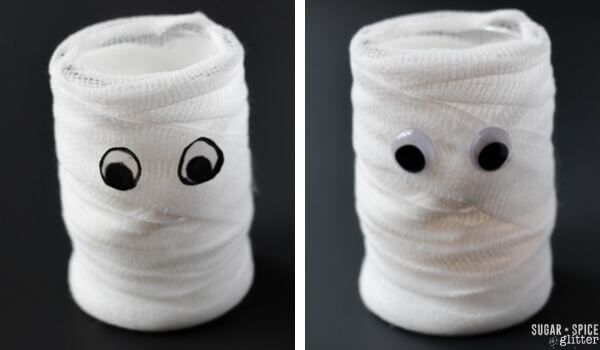
- Google eyes
Instructions
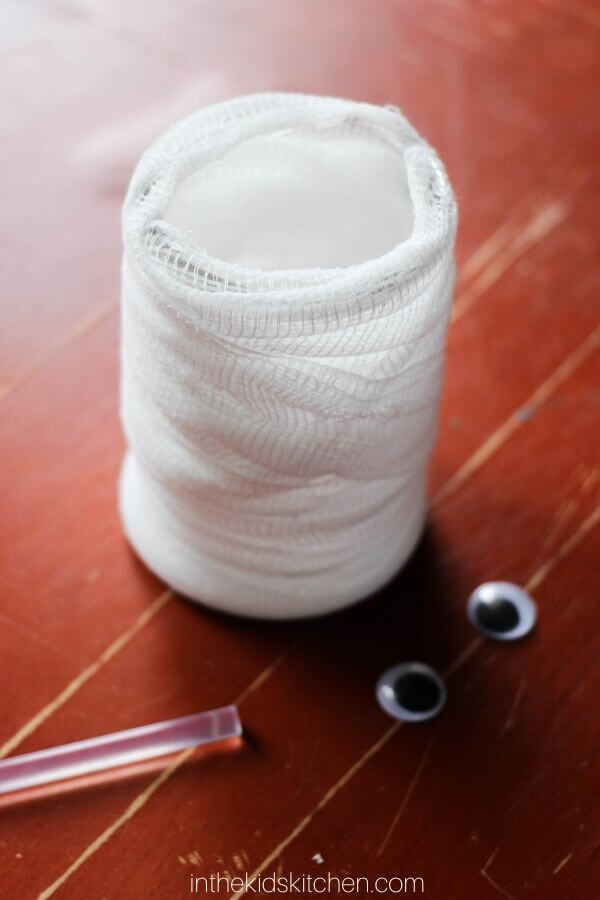
- Starting at the bottom of your jar, make a thick line of craft glue around the bottom.
- While the glue is still wet, press the end of the gauze bandage into the glue, wrapping it around the bottom.
- Work your way up the jar, adding glue and wrapping the bandage to cover the entire surface.
- When you get to the top of the jar, trim your bandage, leaving enough to make one final loop.
- Add a ring of glue inside the top of the jar and fold the bandage over the top, so the rim of the jar is covered up too.
- Secure the end of the bandage with glue.
Tips
- Type of Glue – While hot glue would also work well for this craft, I recommend sticking with craft glue when you’re making this craft with kids. Hot glue could seep through the gauze and burn little fingers.
- Type of Bandages – We used simple white gauze bandages for this mummy craft. You’ll usually see these in 4 inch wide bandages, which works great for pint sized jars. However, you can also use smaller bandages or cut your bandage strips in half for thinner wraps.
- Lights – If using these mason jar mummies as lanterns or luminaries, do NOT place a candle inside or anything with an open flame, as this would be a fire risk due to the fabric covering. Always use a battery powered light.
- Decorate – Feel free to customize your mummies with any spoon decorations! You can also fashion your own eyeballs using craft paper, marker, cardstock, craft foam, etc.
- Type of Cup or Jar – If making this craft with small children, you may opt to use plastic cups instead of glassware or jars.
More Mummy Themed Ideas
Pin this our mummy luminaries on Pinterest:
Printable Directions to Make Mummy Mason Jars
Mason Jar Mummies
These spooky mummy mason jar luminaries are a festive kids Halloween craft for all ages. Made with white gauze and a few simple supplies, they're sure to add a touch of Halloween flair to any room!
Materials
- Small mason jars
- White gauze bandage
- Battery-powered tea lights
- Google eyes
Tools
- Scissors
- Craft glue
Instructions
- Starting at the bottom of your jar, make a thick line of craft glue around the bottom.
- While the glue is still wet, press the end of the gauze bandage into the glue, wrapping it around the bottom.
- Work your way up the jar, adding glue and wrapping the bandage to cover the entire surface.
- When you get to the top of the jar, trim your bandage, leaving enough to make one final loop.
- Add a ring of glue inside the top of the jar and fold the bandage over the top, so the rim of the jar is covered up too.
- Secure the end of the bandage with glue.
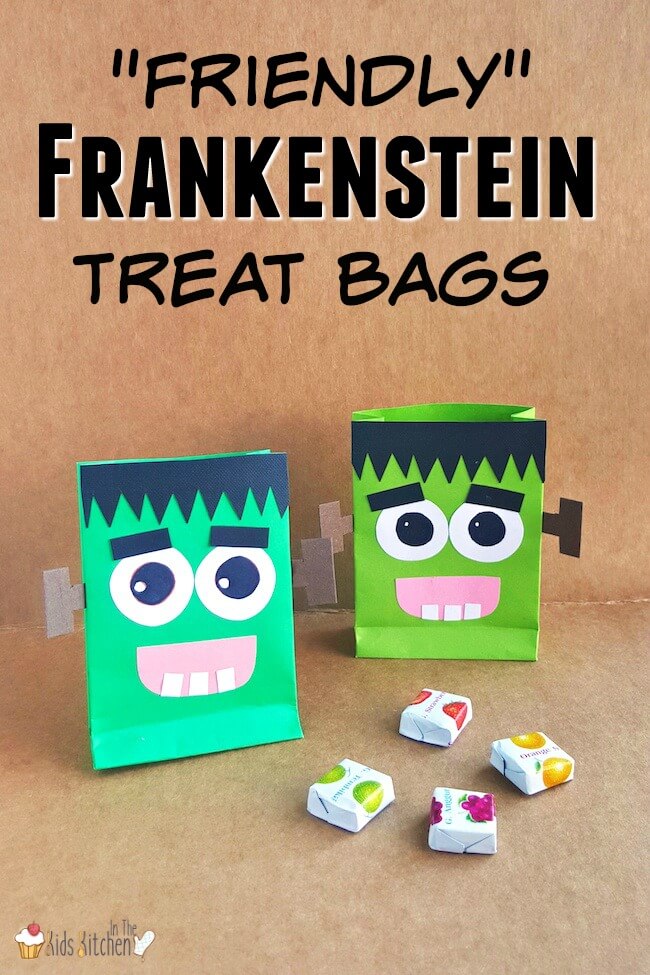
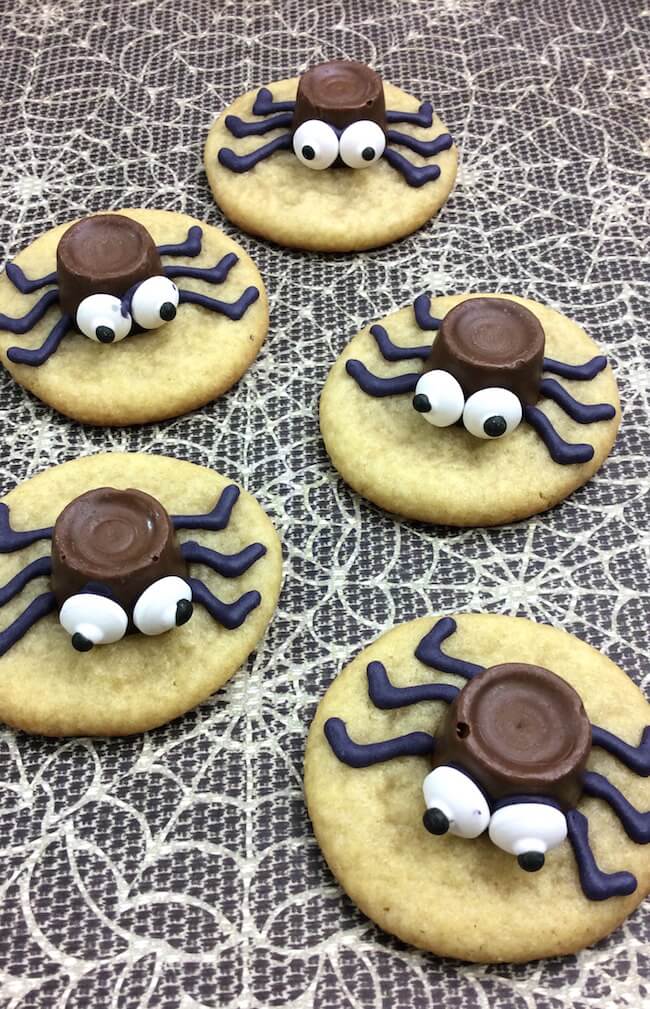
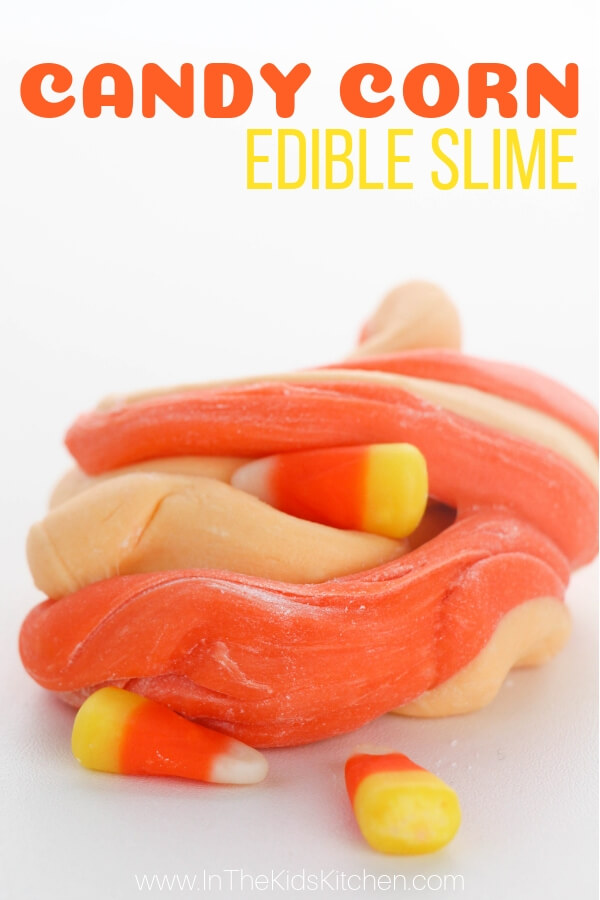
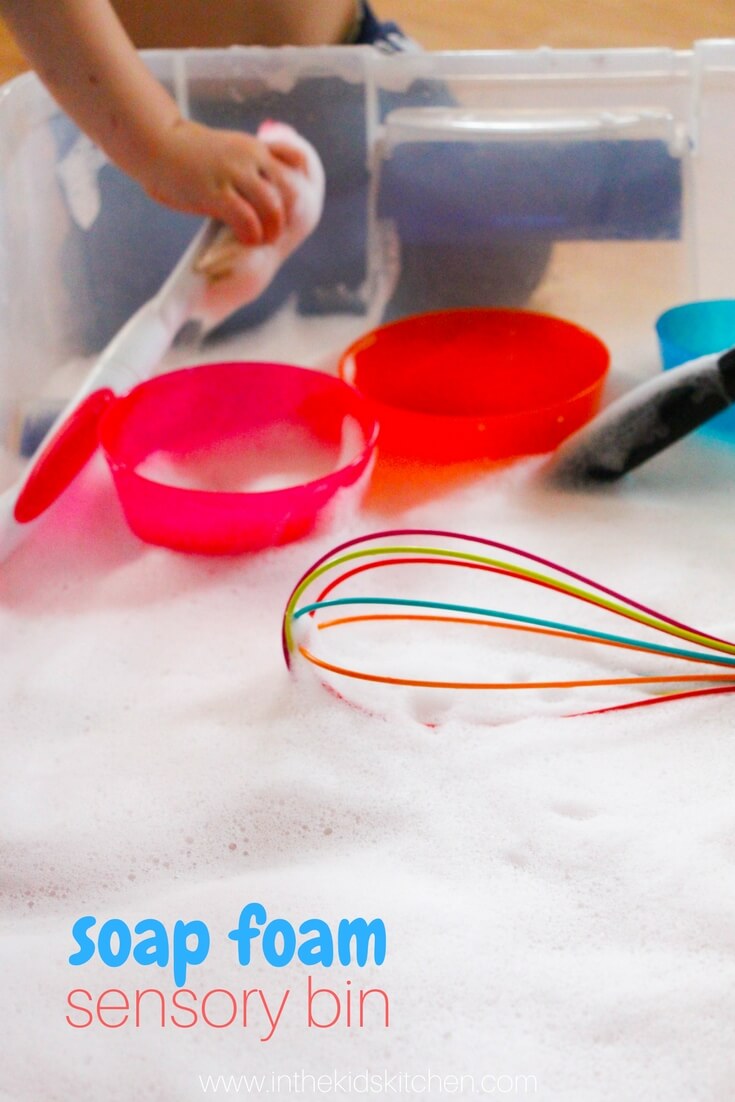
You might also like: